Creating a randomized glossary block can allow you to do many things, including a “Joke of the Day” or “Quote of the Day” section on the main page of your Moodle course.
Step 1: Creating the glossary that contains the quotes or jokes.
-
- Turn on editing.
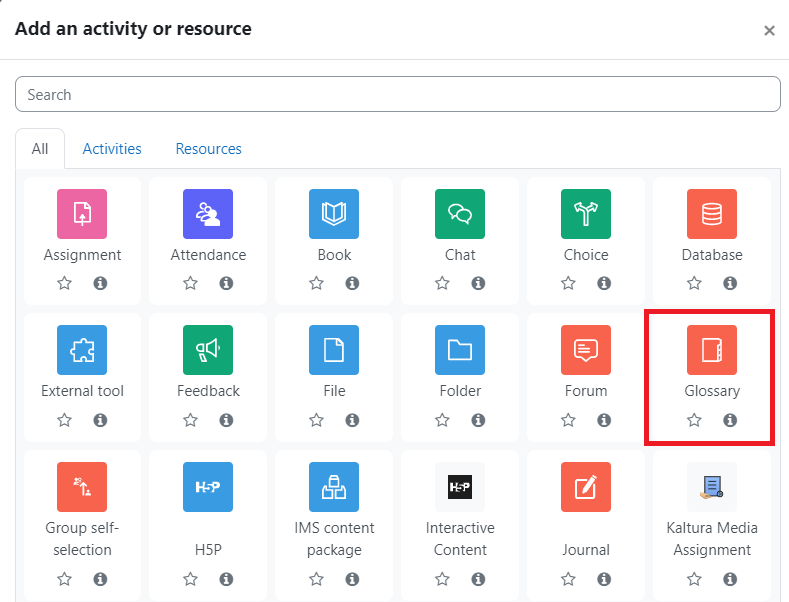
- Click on “Add an activity or resource.”

3. Click on “Glossary”
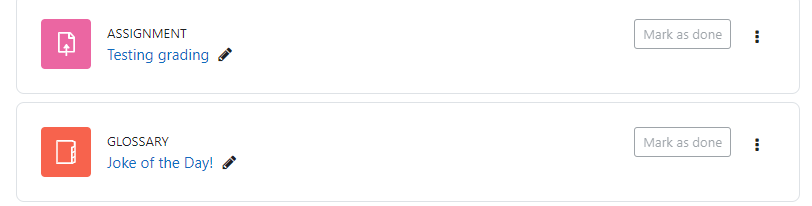
4. Add a title, for this example “Joke of the Day!”
5. Here there are a few settings that can allow you to grant or restrict access to adding entries for students. By changing the “Approved by default” setting to “No” will allow you to check your student’s entries before they are posted for the rest of the class to see.
6. You can also allow students to comment on each other’s entries by changing the “Allow comments on entries” setting to “Yes”.
7. Once you save the glossary, go back to your home page to make sure it is visible.
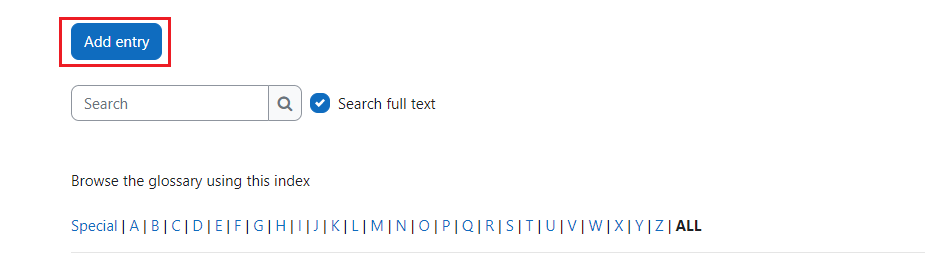
8. Click on the glossary, and add a new entry.
9. Add as many entries as you would like.
Step 2: Adding a block to display the entries.
-
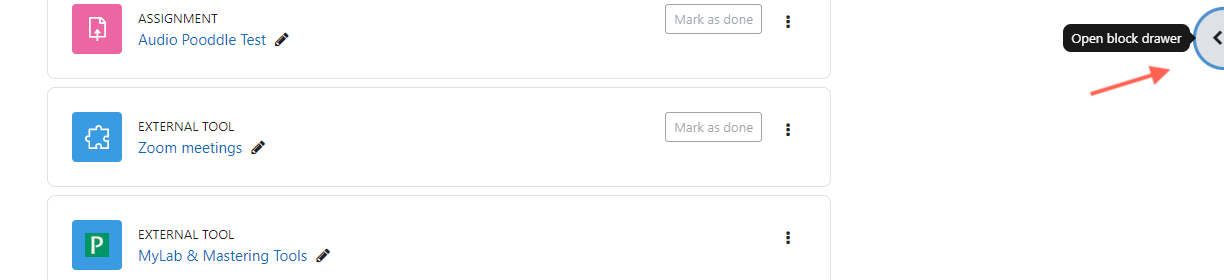
- Now, you need to create a block that can implement your glossary. To access the block drawer, simply click on the left-pointing arrow.
2. Next, click on the “+add a block” and choose the option “Random glossary entry.”
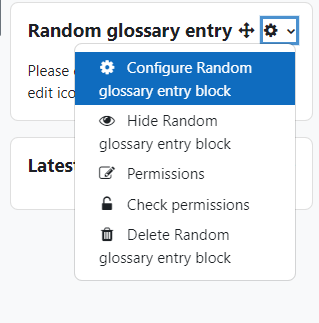
3. When your block is created, click on the gear button and select “Configure Random glossary entry block.”
4. Add a title, and select the glossary you have created for this block.
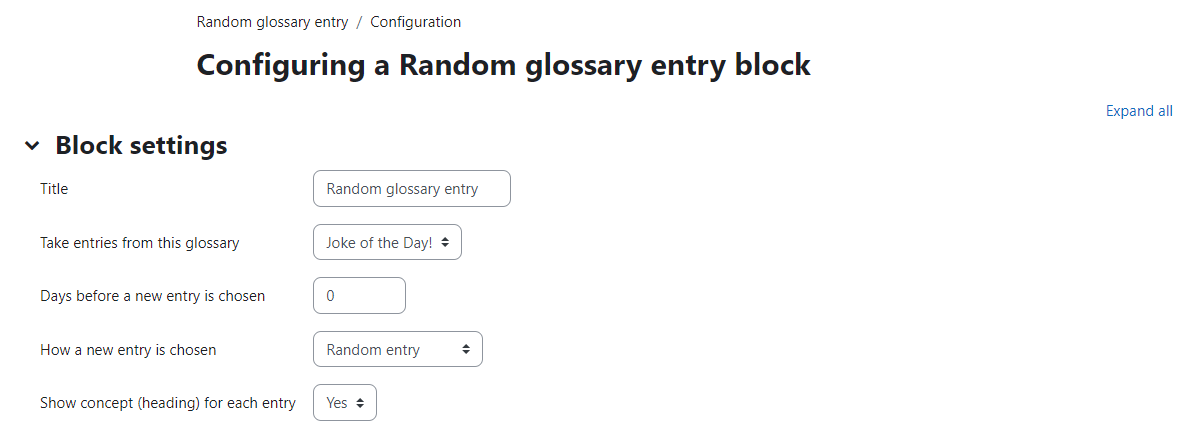
There are a few different settings you can choose from when creating your block.
- Days before a new entry is shown – This allows you to control how often a new entry from the glossary is shown. The default is ‘0’, which means that every time you refresh the page, a new entry appears. By changing it to ‘1’, a new entry will only be shown once a day.
How a new entry is chosen – There are a few options that you can choose from that determines which entry is shown.
-
- Random Entry – Will show a random entry from the glossary
- Last Modified Entry – Will show the last entry that was modified
- Next Entry – Cycles through the entries in order
- Alphabetical Order – Cycles through the entries alphabetically
Now, when you go back and look at your page, you should see your block!