The Workshop activity in Moodle allows the collection, review, and peer assessment of students’ work.
To set up a workshop activity, follow these steps:
-
- Scroll down to the desired week/topic in your Moodle course.
- Click “+Add activity or resource” located below the week/topic.
- From the list of activities, select “Workshop” (the last option)
- This will open a new editing page where you can customize the workshop according to your preferences.
Main features of the workshop activity:
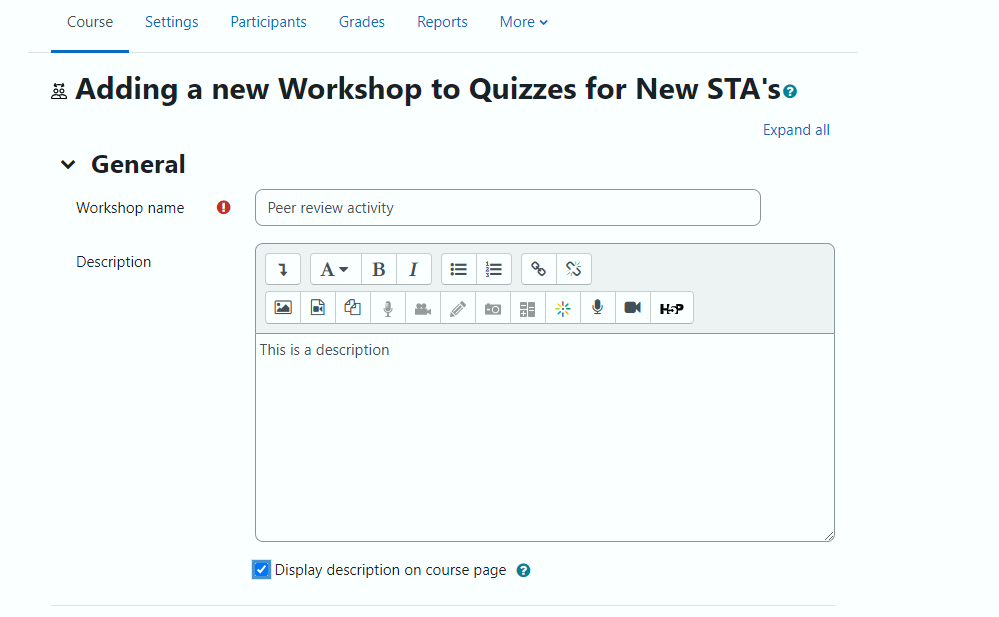
General: You must add a workshop name and a description of the activity. If you check the box underneath the description box, your students will be able to see the description on the main Moodle course page.
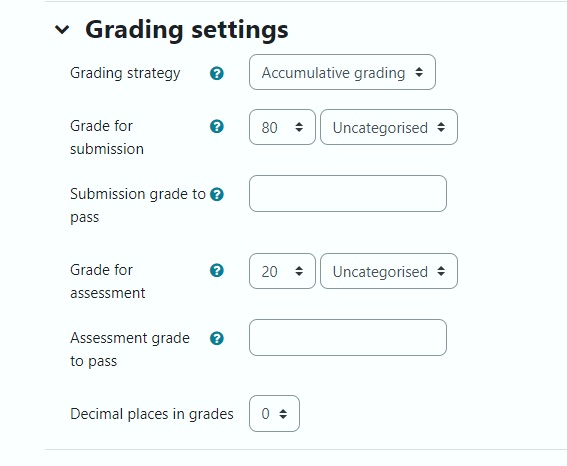
Grading setting: There are four different grading strategies available:
-
- Accumulative grading strategy: The assessment form consists of a set of criteria. Each criterion is graded separately using either a number grade or a scale. Each criterion can have its weight set. Reviewers can put comments on all assessed criteria.
- Comments: The assessment form is similar to the one used in the accumulative grading strategy but no grades can be given, just comments.
- Number of Errors: The assessment form consists of several assertions, each of which can be marked as passed or failed by the reviewer. Various words can be set to express the pass or failure state.
- Rubric: The rubric assessment form consists of a set of criteria. For each criterion, several ordered descriptive levels are provided. A number of grade is assigned to each of these levels. The reviewer chooses which level answers/describes the given criterion best.
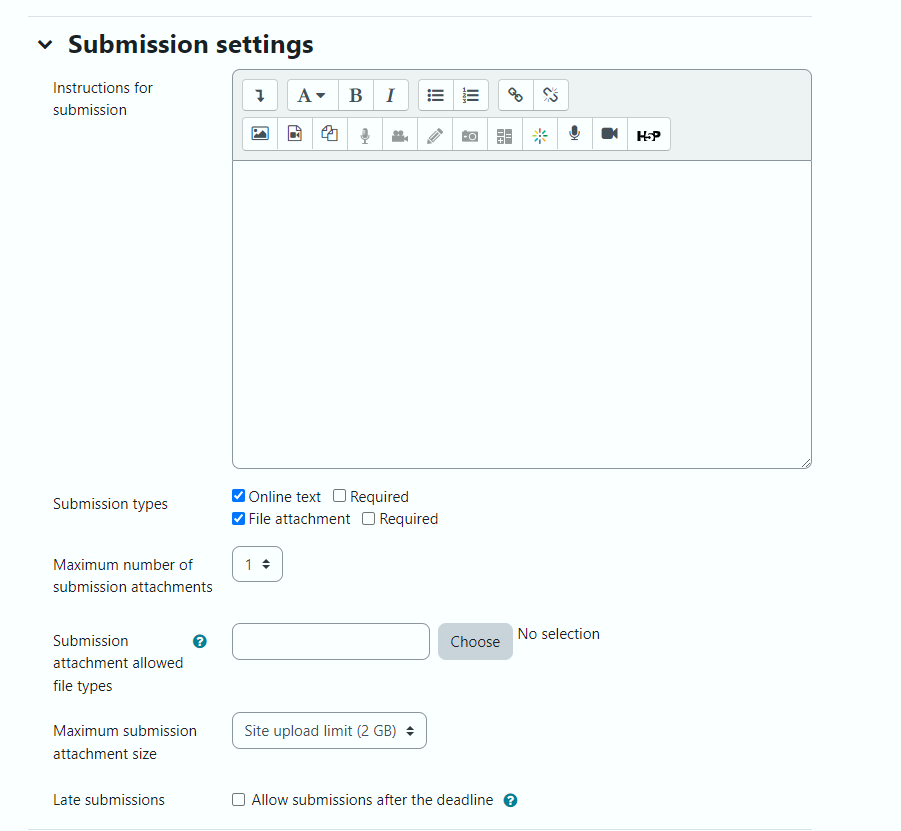
Submission setting: Within the workshop setup, you have the ability to provide clear instructions to your students regarding their submissions. You can specify the required content, select the preferred submission types, set limits on the number of attachments, and control the acceptable file types and sizes.
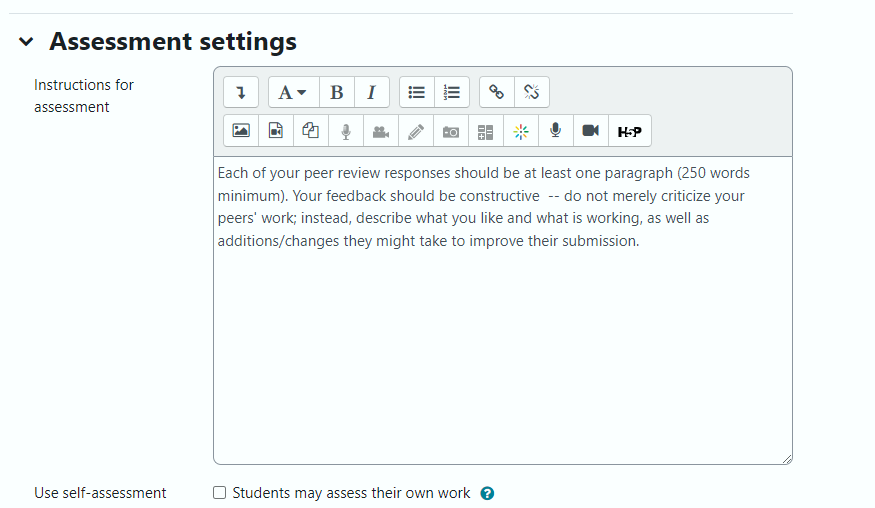
Assessment settings: In this phase of the workshop, you have the opportunity to provide instructions for the peer review assessment as shown in the example below. Additionally, you can enable self-assessment by checking the corresponding box, allowing students to evaluate their own work.
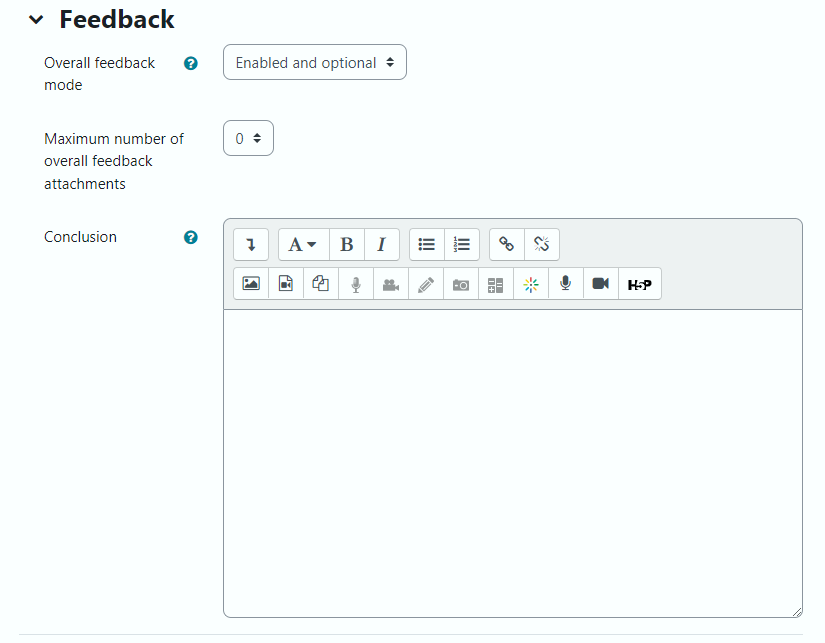
Feedback: You can allow students to provide overall feedback, set the maximum number of attachments students’ can provide, and select the preferred submission types. Moreover, you can also write your conclusion for the activity and students will only be able to see it once they have completed all phases of the review.
Availability: If you want to be specific about the dates for each task, you can enable the box next to the calendar and select the desired dates and times.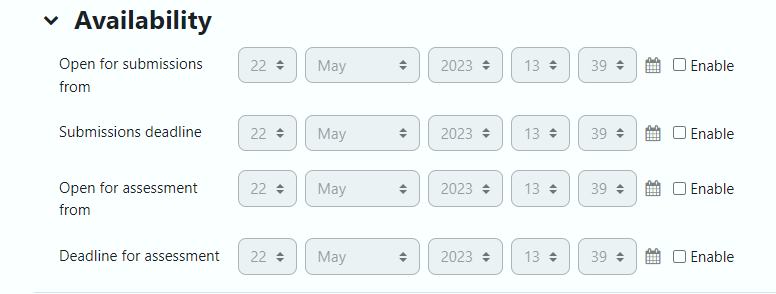
While there are additional settings available for customization, none of them are essential for creating a peer review activity. However, if you’re interested in exploring these options, you can refer to this detailed video tutorial provided by the official Moodle channel. This video will guide you step-by-step through the process, ensuring a comprehensive understanding of the available settings and how to use them effectively.
