Creating groups in a Moodle site can be useful in a number of ways: You can create discussion areas for group projects, keep multiple sections of the same course separated, set different due dates for assignments based on group membership, and even create individual research logs by creating a group for each student.
Creating Groups:
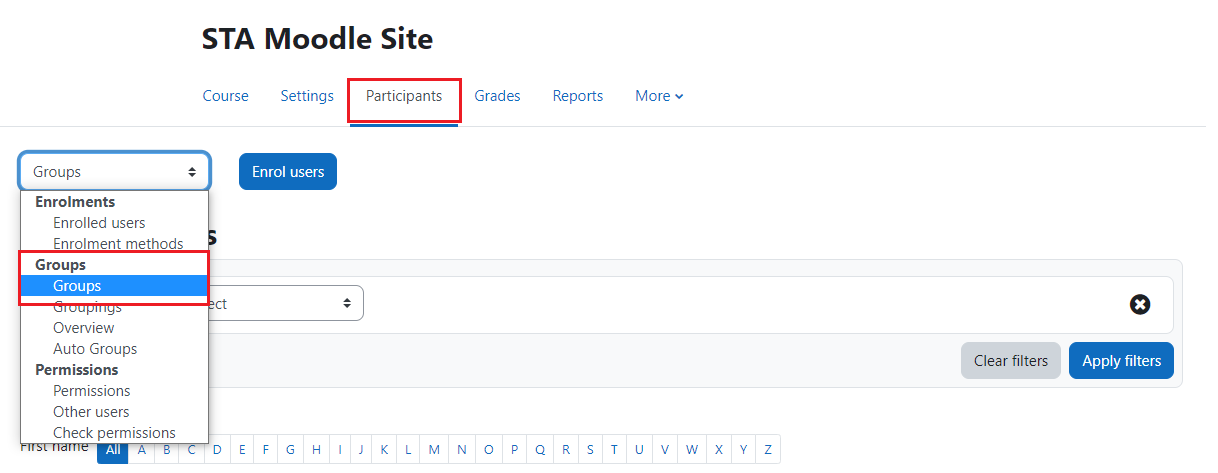
To create groups go to the participants’ section found on the horizontal navigation menu. Then select “Groups” from the drop-down menu located in the upper right corner of the page.
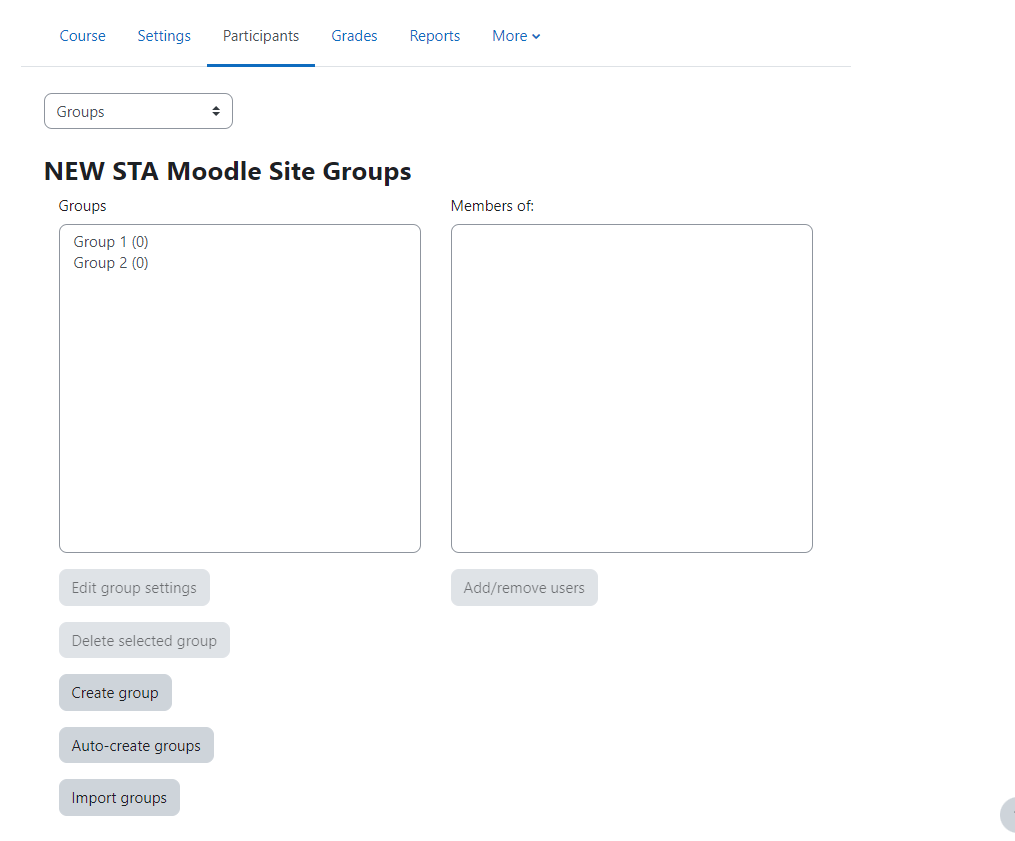
On the Groups page, you can manually create groups or use the auto-create group option to create groups based on the number of members per group or the total number of groups you want in the course.
Once the groups are created you need to come back to this groups page to add/remove group members. Select a group name in the box on the left and then click add/remove users to modify the group membership.
Using Groups:
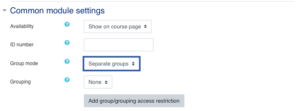
Once you have set up the groups you can use them in discussion forums, assignments, and other areas. When creating a forum or adding another activity look under the Common module settings section. There under the groups’ option you can choose separate (group members can only see their own group activities) or visible groups (group members can see but not participate in other group’s activities). When students access a forum or activity using groups they will only see their own group (separate groups) or a drop-down menu to select other groups as well (visible groups). Anyone with the Teacher or TA role will see a drop-down menu to select which group content they would like to see.

