To add a file, such as a Word document (.doc), pdf

document, audio, or video file, enter your course and “Turn edit mode on”
Choose the section that you are interested in, and then click on “+Add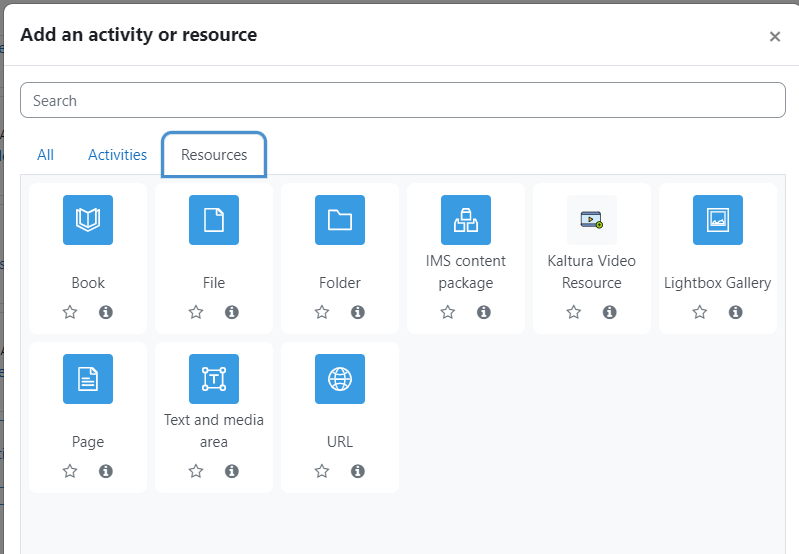 an activity or resource” in the bottom right corner of the section. Within the pop-up window, scroll down to Resources, click on the File option button, and then click on “Add” at the bottom of the window. Important note: we discourage the use of long file names or special characters in the file name, as this can lead to download errors.

The new file setup page will appear, so start by entering the name of the file (this will appear as a link) and optionally a brief description. Within the Content section, you can drag and drop files to upload them, as shown to the left. Alternatively, you can click on the ‘Add’ icon in the upper left (highlighted with the red box above). This opens up the File Picker pop-up window, where you can browse your computer for the desired file and then click “Upload this file” to upload it to Moodle. Note that Moodle also allows you to browse and select previously loaded files under Course Files, Private Files, and Recent Files. Once a file has been uploaded, it will show in the Content window. To finish adding the content, click on “Save and return to course” at the bottom of the screen. Your file will now appear in the course resources section.