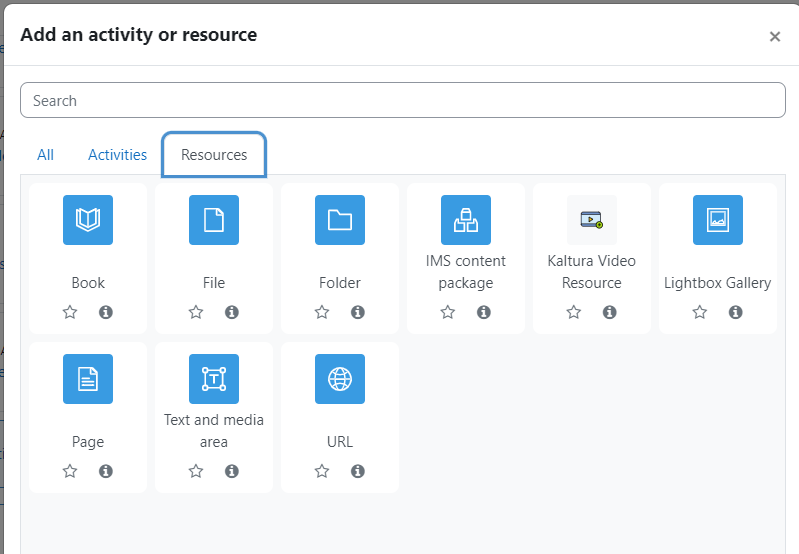
A resource is a digital item, such as a file or a link, that a teacher can use to support learning and assessment. A wide range of resource types are supported in Moodle and are shown in the figure to the right.

Resources are added to a course section during an editing session using the “+Add an activity or resource” button. Note that more than one resource can be added to a section.
Commonly-used resources include:
- Book – multi-page resources with a book-like format
- File – a picture, pdf document, spreadsheet, or media (sound or video) digital file
- Folder – used to organize files and even other folders
- Label – displayed words or images that can be used to separate activities and resources within a section
- Page – a screen created by the teacher with HTML
- URL – active link to web resources
To delete a resource, make sure that the editing mode is on. Click on the three dots located on the right side of the resource to display a set of options, and then click “Delete”.
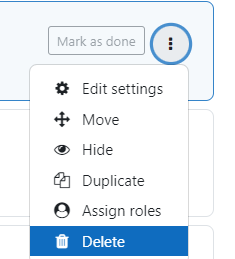
Then you will need to confirm this deletion.
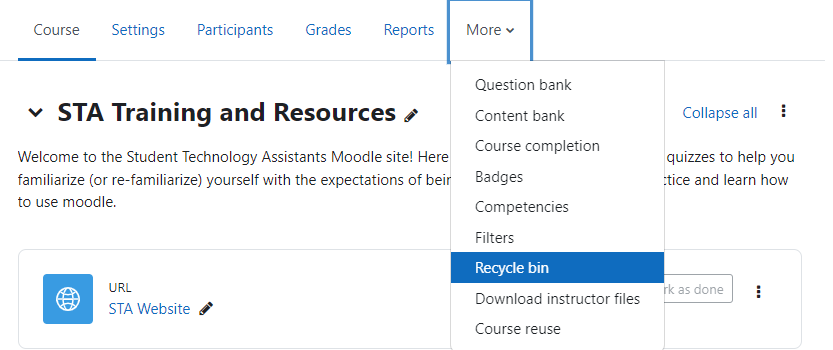
If you decide that the resource was deleted by mistake, you can restore it by going to “More” settings from the horizontal navigation menu and selecting “Recycle bin”
Please note that it might take a couple of minutes after the deletion of the resource for the Recycle Bin to appear. The contents of Recycle Bin get erased after 7 days since the deletion of the resource.
In the Recycle Bin section, you will see any recently deleted resources or activities. This will give you the option to either restore or permanently delete the resource.